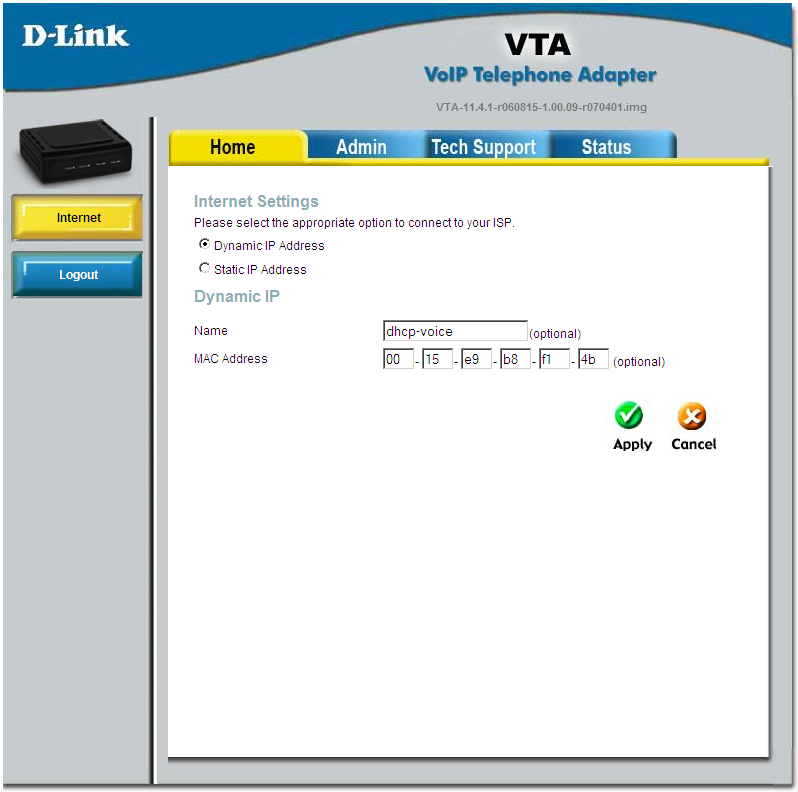
Unlocking Vonage DLINK VTA-VC


The model I had was the D-LINK VTA-VR. In theory it’s a 2-line ATA that has hardware very similar to the Linksys PAP2. Practically, it has some annoying quirks that make it, in my case, only work for one line – or in some other cases, completely useless.
Files/programs you’ll need:
CYT46 for unlocking
the Vonage ** COMMENT US FOR THE FILE *** firmware.
** COMMENT US FOR THE FILE ***
tftpd maybe
So, quick overview of what we’re gonna do. We’re gonna somehow gain access to the Admin or Support accounts, then we’re gonna downgrade the firmware to 1.00.07, then we’ll unlock it with CYT46. Then we’ll put an unlocked version of 1.00.09 (created by toro) on there and quickly configure it.

D-Link VTA-VR Unlocking Guide


D-Link VTA-VR Unlocking Guide

Ingredients:

1.Download link for cyt35.zip : http://www.dslreports.com/forum/remark,16748441~days=9999~start=40

2.http://www.bargainshare.com/index.php?showtopic=87504

Setting up Vonage D-Link VTA-VR

This guide will help you setup your D-Link Broadband Telephone Adapter
(VTA-VR) from Vonage using Smart Bro connection. This guide also works
on any service provider in North America (VTA-VR) and Canada (VTA-CV).


.

FAQ - UNLOCK DLINK VTA-VR VTA-VC


Requirements
Vonage D-Link VTA-VR - 1 internet/WAN port (rj45), 2 telephone ports
(rj11)
Router with Enabled DHCP (Linksys WRT54GC, Mikrotik RouterOS, Linksys
WRT54G,all D-Link routers etc.)
Touchtone telephone (cord or cordless)
Vonage D-Link VTA-VR Setup Diagram
Connecting Vonage D-Link VTA-VR to the Network

D-Link VTA for Freephoneline

This page discusses the VoIP settings for the D-Link VTA VoIP router. For all the other settings, please consult the user manual available here. The guide applies to all the versions of the D-Link VTA (VTA-VR, VTA-CV, VTA-VD).

Before you start configuring the adapter, make sure you have the following settings for your SIP account:
- SIP Server address (sometimes called SIP Proxy)
- SIP User ID (in most cases this is the phone number)
- The password for the SIP account
To obtain these settings, you must contact Freephoneline and ask for your configuration file. There's a one time charge for this, currently $50 CAD + tax. They will send you a Word document with the settings.

Connect all the cables: power cord, an Ethernet cable to your router and a phone into the green Phone 1 port. Wait about a minute for the router to power up, then check your router's DHCP table to find the IP address assigned to the ATA (see some samples for different router brands here). Put that IP address in a browser and login with username Admin and blank password.


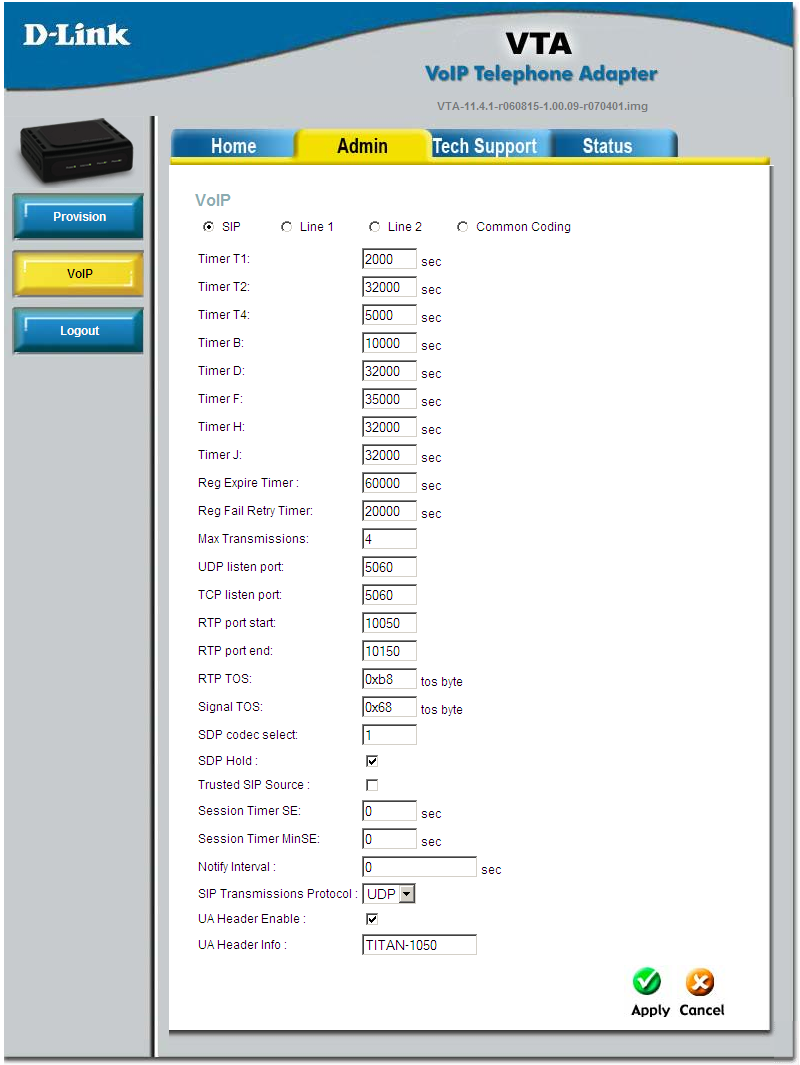
Click Admin on the top menu, then VoIP on the left

D-Link VTA for Voip.ms

This page discusses the VoIP settings for the D-Link VTA VoIP adapter. For all the other settings, please consult the user manual available here. The guide applies to all the versions of the D-Link VTA (VTA-VR, VTA-CV, VTA-VD).
Please note that VoIP.ms accounts have one main SIP account and zero or more SIP sub-accounts. The D-Link VTA is only compatible with the main account.
If you're not sure what the SIP server and credentials are for your account, please see this page.
Connect all the cables: power cord, an Ethernet cable to your router and a phone into the green Phone 1 port. Wait about a minute for the router to power up, then check your router's DHCP table to find the IP address assigned to the ATA (see some samples for different router brands here). Put that IP address in a browser and login with username Admin and blank password.


Click Admin on the top menu, then VoIP on the left

D-Link VTA for Acanac

This page discusses the VoIP settings for the D-Link VTA VoIP router. For all the other settings, please consult the user manual available here. The guide applies to all the versions of the D-Link VTA (VTA-VR, VTA-CV, VTA-VD).
Before you configure the router, you will need an e-mail from Acanac with your account settings. They usually send it to you 2-3 days after you open your account and it will have a subject like "Your Soft Phone order at Acanac is ready". In the e-mail you will find your phone number, the password and the domain (the SIP server).
Connect all the cables: power cord, an Ethernet cable to your router and a phone into the green Phone 1 port. Wait about a minute for the router to power up, then check your router's DHCP table to find the IP address assigned to the ATA (see some samples for different router brands here). Put that IP address in a browser and login with username Admin and blank password.


Click Admin on the top menu, then VoIP on the left


The first tab, SIP is very unlikely to need any changes. Please click on Line 1